Video #1
Die cutting refers to the process in which you use a machine and metal die to cut out one or multiple of the same or different shapes quickly. Think of the die as a cookie cutter. You can create the same shape over and over out of different materials without using scissors, craft knife or punch tool.
Cutting dies are versatile tools for many types of paper crafting. There are basic shape dies, like nested circles, dies that are great card focals, like botanical dies and dies that cut card bases, like the center step card die. You can use cutting dies to layer images, cut out greetings, make frames or create a scene on a card. You can also create backgrounds like chicken wire and lattice.
In the next video I’ll walk you through the details of using a die cutting machine.
Video #2
Paper Wishes has several die cutting machine options. This video will demonstrate the manual Big Shot by Sizzix and the Gemini Junior electronic die cutting machine by Crafter’s Companion. Both machines have 6” wide openings and Paper Wishes also sells others that have have larger 9” wide openings.
We also discuss “recipes” for using cutting plates and platform layers to get the correct fit for each cutting die. Always check manufacturer’s instructions as machines will vary.
A “sandwich” refers to the order that elements are placed on the machine platform: Plate, cardstock, cutting die (cutting side down) and plate. Crank the “sandwich” through the machine while holding the handle firmly.
Tip: Turn the plastic cutting plates over after each use to prevent curving. It’s important to keep the plates as flat as possible to provide even distribution of pressure.
A shim is an item, such as scrap cardstock, a thick plastic self-healing cutting mat or a metal plate. Any of these shims can be used for eliminating extra space as the die moves through the machine. A shim can be necessary when an area of a die isn’t cutting smoothly and may need more pressure for a clean cut.
In our next video I’ll show you how to use the same machine for Embossing Folders.
Video #3
This video will give the basics of using embossing folders with a manual die cutting machine. Always check your manufacturer’s manual as instructions vary.
Embossing folders create beautiful and intricate raised patterns on cardstock and other materials and they are perfect for card making. They require a die cutting machine and the hard plastic folders with engraved images to create a dry embossed image.
When you place a piece of cardstock into the folder and run it through the machine, the pressure will transfer the design onto the cardstock making a raised embossed image on one side and debossed image on the back. The embossed image adds texture to your cards and other paper crafts.
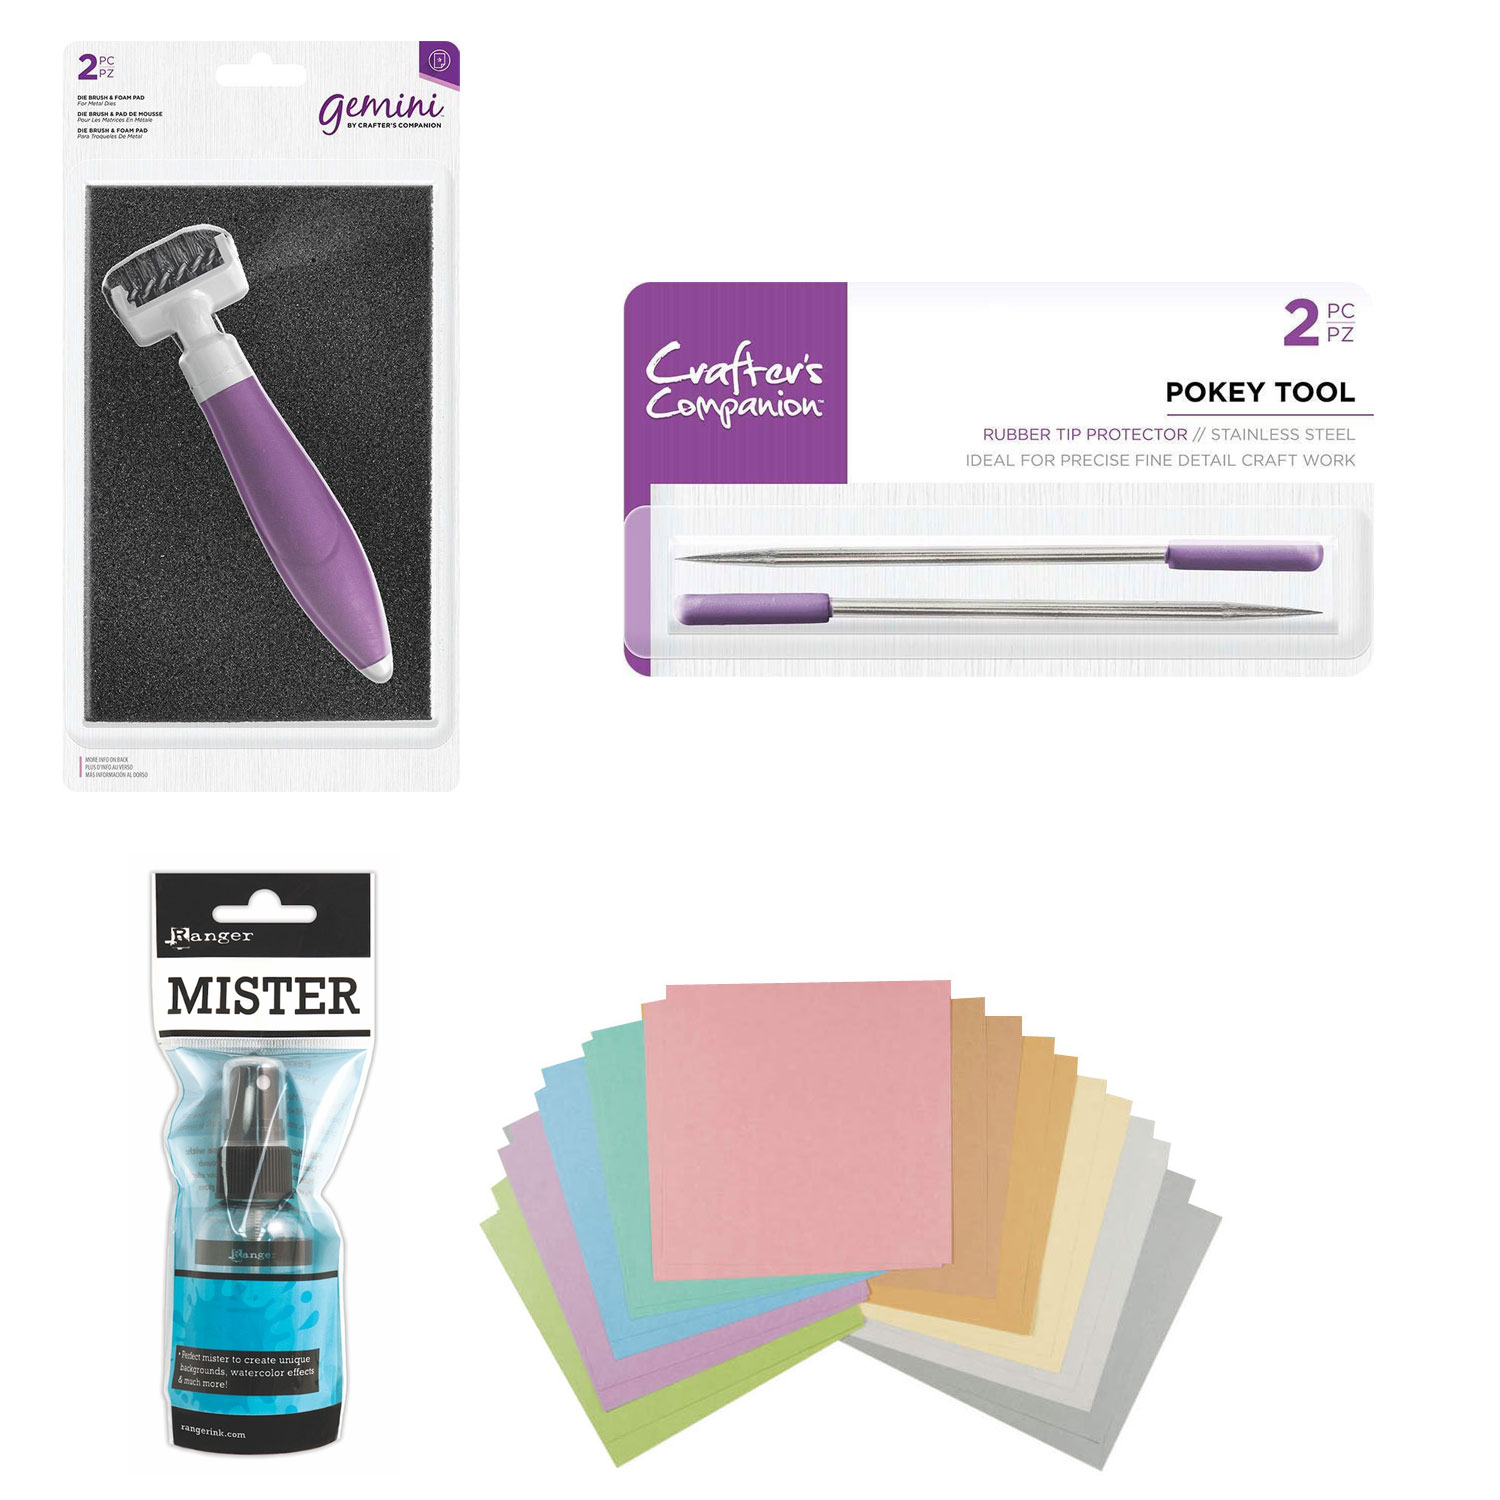
Tip: Use a misting tool with a fine spray to mist the cardstock with a small amount of water before closing the folder and running through the machine. The cardstock should be moist and not wet. This technique will soften the paper fibers slightly and make a deeper impression.
A “recipe” is a term used to describe the order for using machine platform layers to get the correct fit for each embossing folder. There are usually different recipes for different brands of embossing folders. A little experimenting before starting your project is a good idea. Always check your manufacturer’s manual as instructions vary.
A “sandwich” refers to the order that elements are placed on the machine platform: Plate, embossing folder and plate. Crank the “sandwich” through the machine while holding handle firmly.
Tip: The “fold” end of the embossing folder should go through the machine first to prevent the folder from breaking.
You may have heard about 3D embossing folders. What’s the difference?
3D embossing folders have thicker plastic than standard 2D folders and you may only need to use 1 plate, instead of 2, when putting though the machine. Also, the embossed patterns inside the folder have different depths and provide a very dramatic image.
A standard folder or 2D embossing folder has an embossed image, usually of the same depth, and thinner plastic which require 2 plates when put through the machine.
In the next video I’ll show you some techniques for using embossing folders.
Video #4
This video will focus on some techniques for using embossing folders
- Using white cardstock to embossed an image makes an elegant card front.
- Using the surface of an ink pad over the cardstock embossed image is a simple method of adding color to the raised image.
- Using a sanding block or emery board to gently sand the surface of colored cardstock, with a white core, gives a vintage or distressed look to your embossed image.
- Embossing specialty papers like Suede Paper & Metallic cardstock add texture or shine to your cards.
There are a wide variety of embossed folders and they are fun and easy to use. We hope you’ll give them a try!