Basic Card & Covering
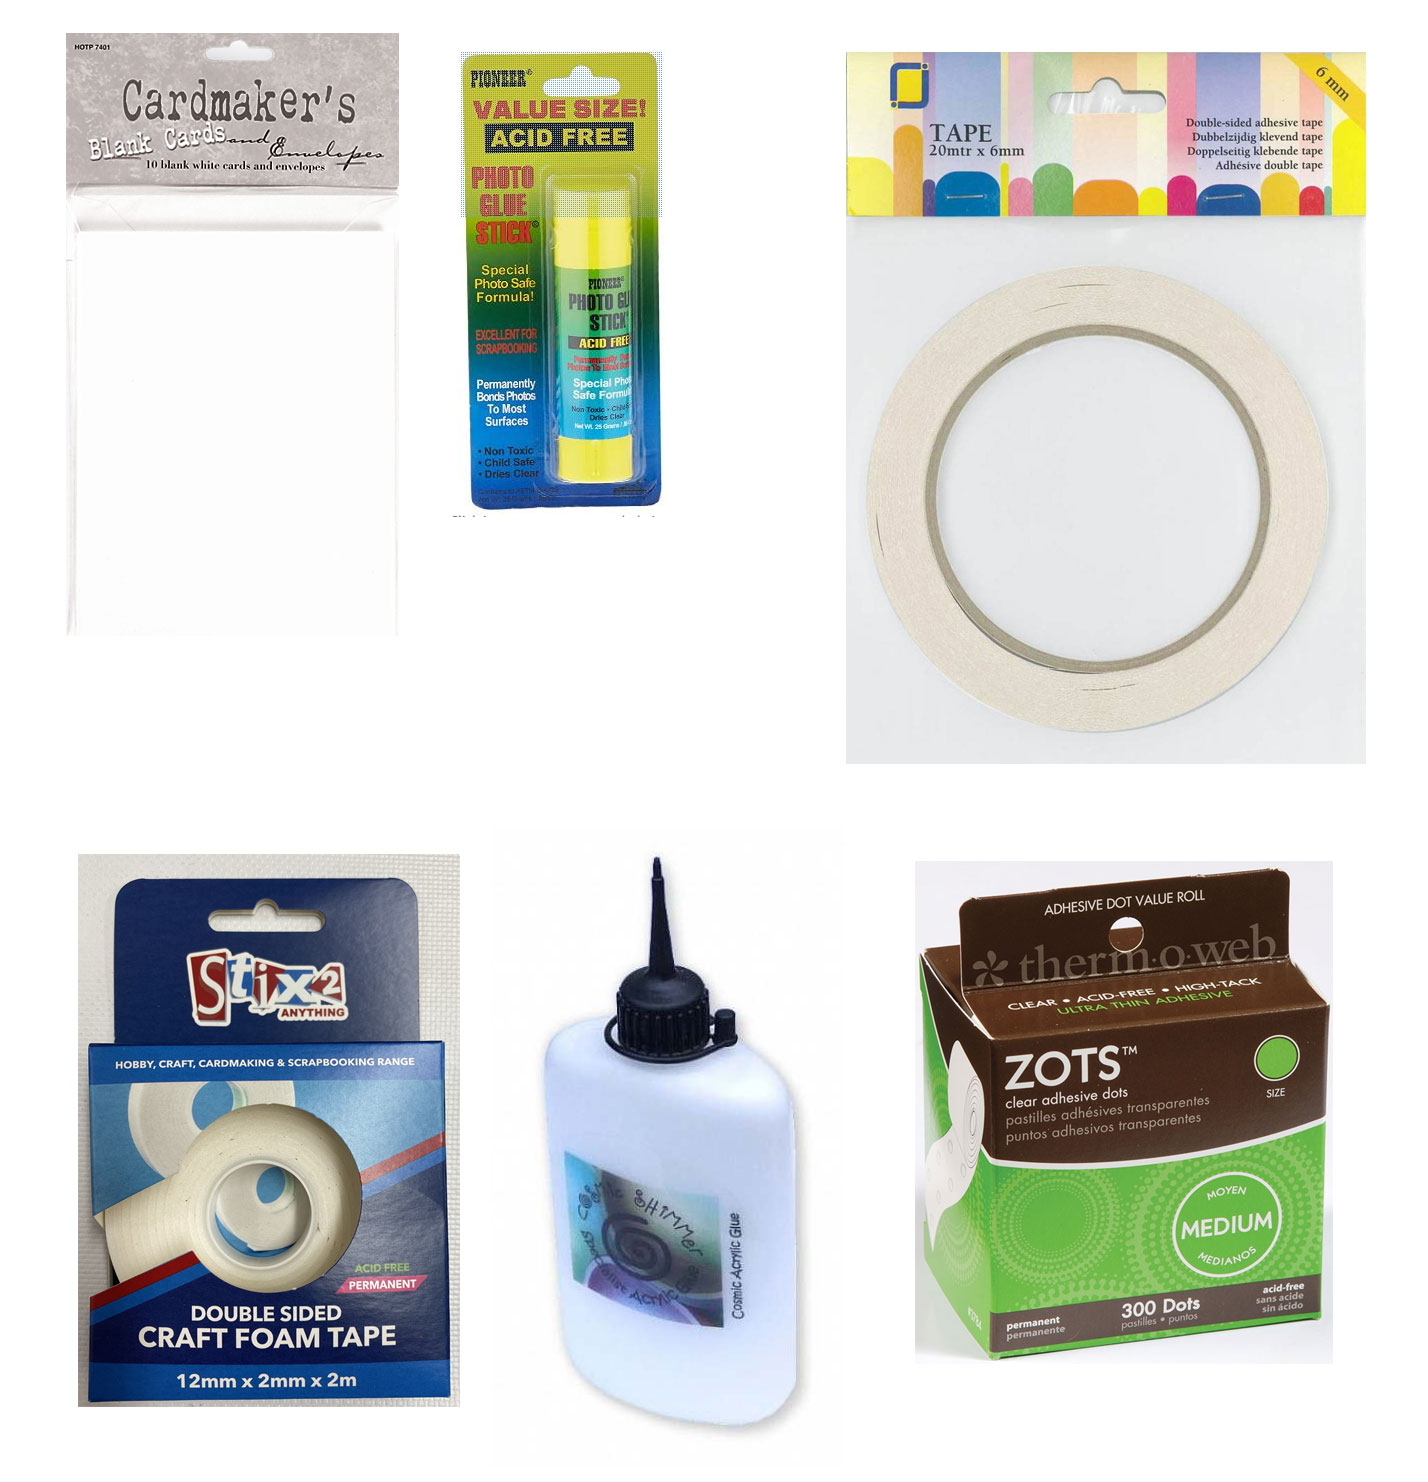
There are many card sizes but we like 5"x6.5" because you have more room to create and they will take one stamp to mail. They cost 40¢-17¢ per card/envelope at PaperWishes.com. The score line bump goes on the inside of the card. Be sure to press along the folded line to keep the card closed. Several adhesives can be used and our design team likes these: glue stick, liquid Specialist Acrylic Glue, Easy Tear 2-sided tape, and a tape runner.
Here's an easy, no fail way to cover the card with paper or cardstock: Place glue along the outside card edge and along the fold. Position the patterned paper even with the fold and one edge. Press down and turn the card over. Cut along the card edge. It works perfectly every time!
Cover the front and inside of your card then glue cutouts from a patterned paper pack to finish your first card. Tip: Each 12"x12" patterned cardstock sheet will make four card fronts.
Embellishing #1
Border Dazzles™ stickers make easy, shiny accents (see the tip to keep them straight), foam tape can lift cutouts and greetings, attach bows with Zots™ and use Specialist glue for crystals.
Embellishing #2
Use foam tape to lift die-cut images but you don't need much, flowers and ribbons are attached with Zots™ adhesive dots. Paper doilies come 4" circles or an oval shape and make great frames.
Tie a Bow
The best way to learn to tie a bow is to follow along while I'm demonstrating.
Tip: It's easier to learn with ribbon that has the same look on both sides. And 5/8" wide ribbon rather than wider ribbon is easier to work with when learning. When you've finished your bow, move the loops and tails around until you get the look that you want. And finally, trim the tails at an angle or with a dove tail to prevent them from fraying.
More to come!


